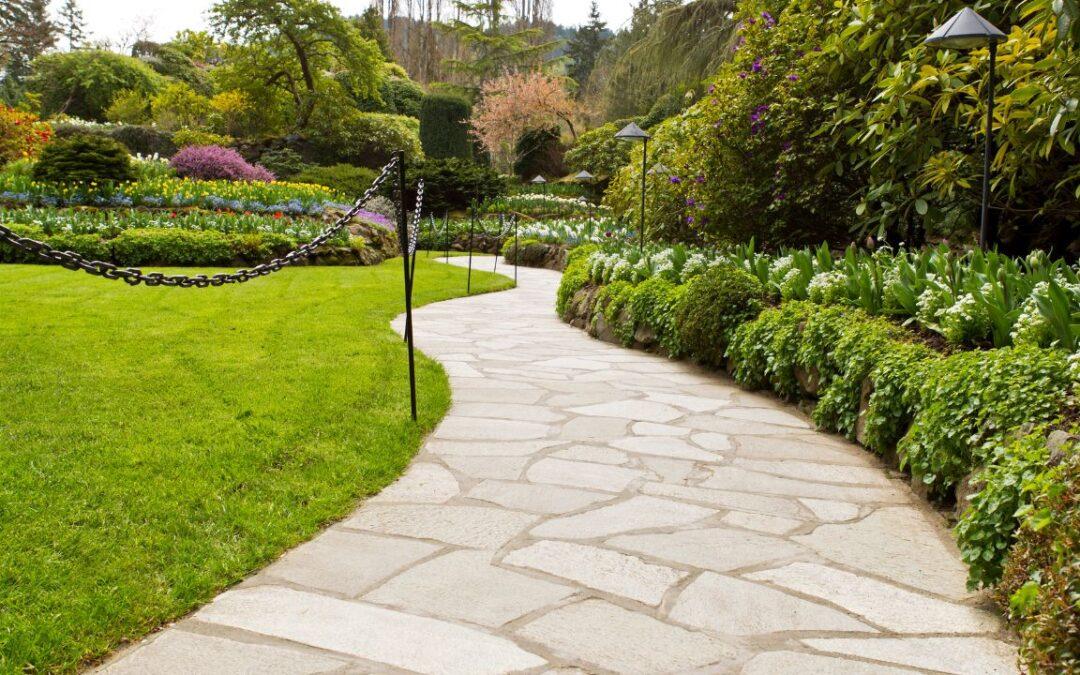
Creating Beautiful Pathways with Stone: A Step-by-Step Guide
Enhancing your outdoor space with a stone pathway is a great way to both improve functionality and boost the area’s overall aesthetic appeal. Stone pathways offer a dynamic balance between the natural ambiance of your garden and a touch of human artistry. This comprehensive guide will walk you through the process of creating a stunning stone pathway.
Materials and Tools Required
The cornerstone of pathway creation is, quite literally, the stone itself. Selecting the right stone is crucial, as it can impact the pathway’s durability and visual appeal. Different types of stones offer different looks and benefits. For instance, flagstone pathways have a naturally non-slip surface and are thus a safer choice for wet areas, while cobblestone pathways offer a unique rustic charm.
Other materials required include landscape fabric (to prevent weed growth), crushed stone or gravel (for the base), and polymeric sand (for filling gaps). You will also need a:
- Wheelbarrow
- Shovel
- Rake
- Level
- Rubber mallet
- Broom
- Tamper
How to Construct Your Pathway
- Planning and Marking: Start by sketching your pathway design on paper. Once you’ve finalized the design, transfer it to the ground using landscape marking paint or stakes and string.
- Preparing the Area: Use a shovel to excavate the marked pathway area. The depth should accommodate the base material (about 4-6 inches of crushed stone or gravel) and the thickness of your stones. After excavation, lay the landscape fabric to inhibit weed growth.
- Creating a Solid Base: Spread the base material evenly in the excavated area. This layer should be compacted using a tamper to create a firm, even surface. Check with a level to ensure the base is flat or slightly sloped for water drainage.
- Laying the Stones: Starting from one end of the pathway, place your stones on the base. You can use a rubber mallet to gently tap each stone into place. Make sure that each stone is stable and level with adjacent stones.
- Filling Gaps: Once all the stones are laid, spread polymeric sand over the pathway. Use a broom to sweep the sand into the gaps between stones. Then, lightly mist the pathway with water to activate the sand, solidifying it and locking the stones into place.
- Finishing Touches: Let the pathway dry for a day or two. Finally, add any finishing touches.
Choosing Stone Patterns and Layout
There are several different pattern types you can adopt when laying out the stones. You might choose a linear arrangement if you’re trying to create a modern design. Likewise, a random or mosaic-like pattern may be best if you’re going for a more natural, organic look. Curving paths can add an element of intrigue and exploration to the garden, and combining different stone types can add depth and texture.
Practical Tips For Durability and Longevity
To ensure your pathway stands the test of time, be sure to:
- Choose stones that are appropriate for your climate. Some stones can crack or flake in harsh weather.
- Facilitate proper drainage to prevent water from pooling on the pathway, as this can lead to slipping or damage to the stones.
- Regularly clean the pathway to prevent the growth of moss or algae.
Looking For Building Materials? We’ve Got What You Need
Adding a stone pathway to your property can be an exciting endeavor. However, to get the most out of your project, it’s important to work with quality materials. McCarty Mulch & Stone offers a wide range of sturdy rock and stone options, from wall stone to cobblestone. Get in touch with us today to learn more about pricing and delivery.


